How to convert a NerdMiner into a NerdAxe?

From 78khs to 500 Ghs!
How to Convert a NerdMiner into a NerdAxe?
From 78 KH/s to 500 GH/s!
Recently at Bitronics, we’ve reached a new milestone. We launched a new development by @BitMaker_, the Nerdaxe, a merger of the NerminerV2 project with the Bitaxe project by @skot9000. This prompted us to ask:
Why not integrate the NerdMiner into a Bitaxe?
The result is the NerdAxe, a blend of both projects, made possible only through the magic of open source.
Thanks to open source projects, we have been able to explore and adapt the code for specific benefits, allowing both the NerdMiner and the Bitaxe to continuously improve with invaluable support from the community. Without this collaboration, the ongoing enhancements that both projects undergo would be much harder without community support.
What exactly is the Nerdaxe?
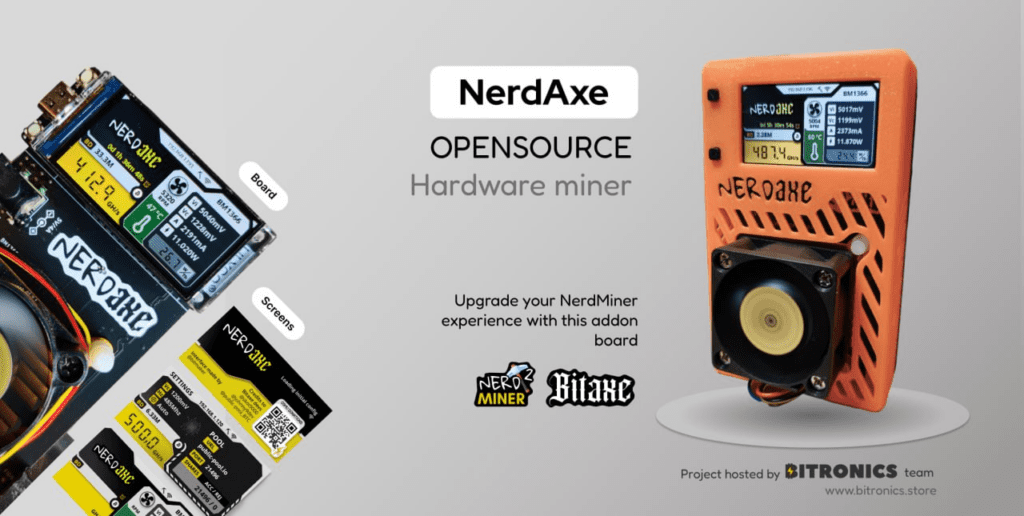
The Nerdaxe is a Bitcoin miner that uses Bitmain ASICs and is fully open source. Its design is based on the current Bitaxe project, with the exception of incorporating the current screen used in the NerdMiner project (TTGO TdisplayS3).
The Nerdaxe incorporates the powerful BM1366 ASIC chip from the Antminer S19XP series. This advanced setup not only ensures efficient and effective mining, reaching up to 500 GH/s, but is also incredibly energy-efficient at 20 J/TH. It operates with a 5V DC power supply via a 2.1/5.5 mm jack connector.
The heart of the Nerdaxe consists of the combination of ESP-miner and AxeOS, an open-source firmware that provides full control over mining operations. The intuitive web interface of AxeOS makes it easy to adjust settings and monitor performance, making the complex world of mining accessible to users at all levels.
How to Convert Your NerdMiner into a NerdAxe?
In this blog, we’ll show you how to transform your NerdMiner into a NerdAxe in a few simple steps. Before you start, make sure you have the following materials:
LYLYGO ESP32 Screen
Custom case or one purchased from the official Bitronics store
Nerdaxe PCB without screen (available at bitronics.store)
Assembly Process:
- Screen Installation: Insert the LYLYGO ESP32 screen into the upper pins protruding from the Nerdaxe Printed Circuit Board. Make sure it is properly fitted as shown in the photo (if you have more questions, I leave you the link to this guide where you can see the step-by-step DIY assembly and the complete guide).
- Enclosure Assembly: Fit the board with the screen into the enclosure. Apply slight pressure to snap everything into place correctly and secure it with 3.5 mm screws.
- Connect and Go!: Get the recommended power supply for the Nerdaxe (20W) and set up the AxeOS portal. (Complete guide).
Finally, it’s important to emphasize that both the Nerdminer and the Bitaxe are educational projects about Bitcoin mining, where the hashrate is very low, and it’s very difficult to mine a complete block in solo mining. However, these projects give you a better understanding of the Bitcoin mining process and are great educational tools.
Support and Additional Resources
If you have questions about how to assemble it, where to buy it, or need more information, here are some resources that can help you:
Nerdminer Setup: Github – NerdMiner v2
Assembly Tutorial: Video en YouTube
Purchase Your Nerdaxe: Bitronics Store
Bitaxe Guide: Download PDF and Bitaxe.org
Community on Telegram: Join TeamNerdMiner
OSMU: Discord community
